![]()
Plant Dreams, Grow Gardens
Greenhouse provides a great environment for veggies and plants to thrive in, provided that you have a proper greenhouse ventilation system installed. During the day when the sun is high up in the sky ( even in winters ), your greenhouse temperature will rise and it will stress your plants if the temperature gets too high.
Therefore, an adequate Greenhouse ventilation system is required to prevent your greenhouse plants from overheating. A greenhouse ventilation system can either be operated manually or automatically.
For manual control of a Greenhouse ventilation system, you will have to manually switch the Vent Fan ON or OFF, when the temperature inside the greenhouse increases or decreases, which is a headache and very annoying to operate.
A better option is to install an automatic greenhouse ventilation system which will turn on when the temperature of the greenhouse increase above a threshold (That you will set based on your requirement) and it will turn off when the temperature of the greenhouse falls below the given threshold temperature.
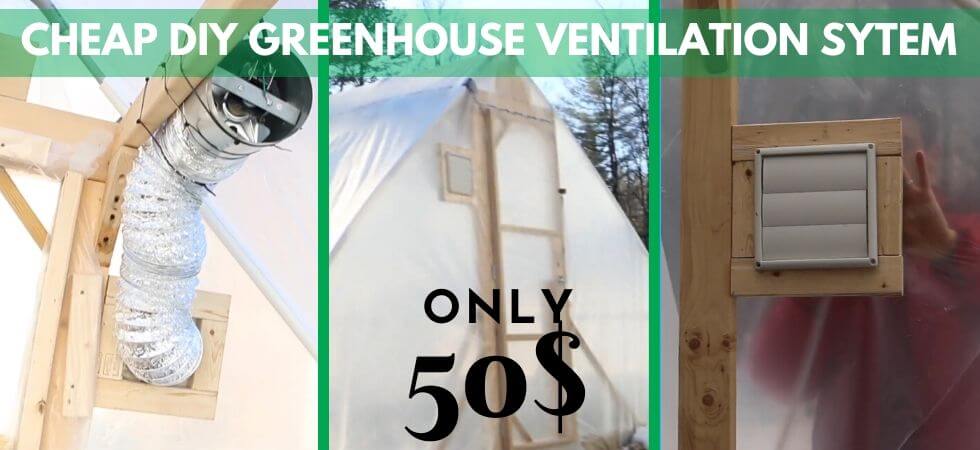
Therefore, in this article, I will tell you how you can build an automatic DIY Greenhouse ventilation system for only fifty bucks. I will highly recommend you to read this article till the end and I am sure by the end of this article you will know exactly how you can build your own DIY greenhouse ventilation system.
Unlock the potential of your garden with GreenhousePlanter – explore our PRODUCTS today!
We assume that you already own a greenhouse but if you don’t, check our complete easy to follow guide on How to build a greenhouse. Also, check out the DIY section of our website where we have plenty of cool greenhouse projects waiting for you.
Before getting into the details I want to give a shout out to OrganicBackyardGardening for providing us the necessary images and making this article very clear and easy to follow.
Before we get into the details of building our Cheap, Automatic DIY Greenhouse Ventilation system we will first discuss the individual components that would be used in this build.
Duct Vent Fan is the most important component of our Automatic DIY Greenhouse Ventilation System. We recommend using the iPower Duct Vent fan because it’s very cheap and it will perfectly do the job of greenhouse ventilation. This fan has the following features.
This Vent will do a great job for small and medium-sized greenhouses. However, if you have a large greenhouse (with length greater than 15 feet) consider installing a bigger vent for your greenhouse.

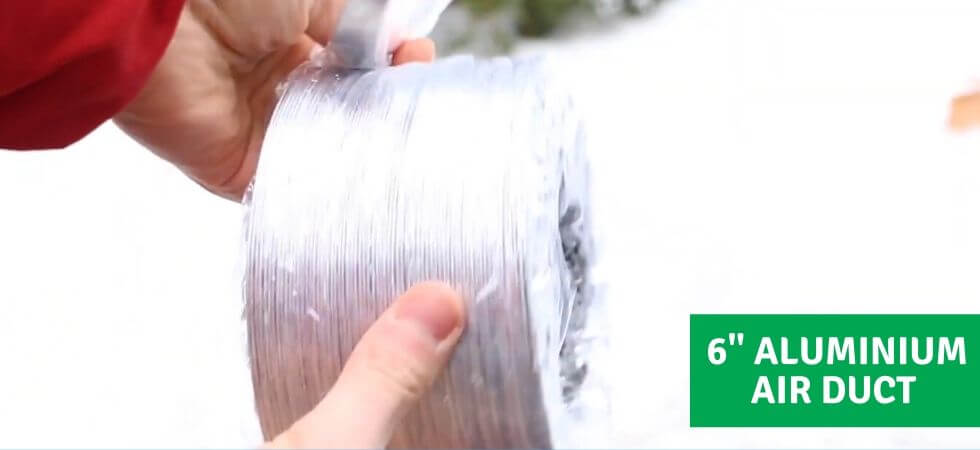
Most of the people think that an Air Duct is unnecessary for Greenhouse Ventilation System, However, I would say it’s good to use an air duct because it allows you the flexibility to change the height of the exhaust fan.
But why it is important? Actually, It’s basic science that as the air heats up it rises upwards, so with time, your greenhouse will be much hotter on the top than the bottom. Therefore, installing an exhaust fan near the top will be more effective. This is where Air Duct comes in handy because it will allow you to install your Automatic DIY Greenhouse Ventilation System Fan at your preferred height.
I recommend using VIVOSUN Aluminum Air Duct. This Air Duct has the following features.
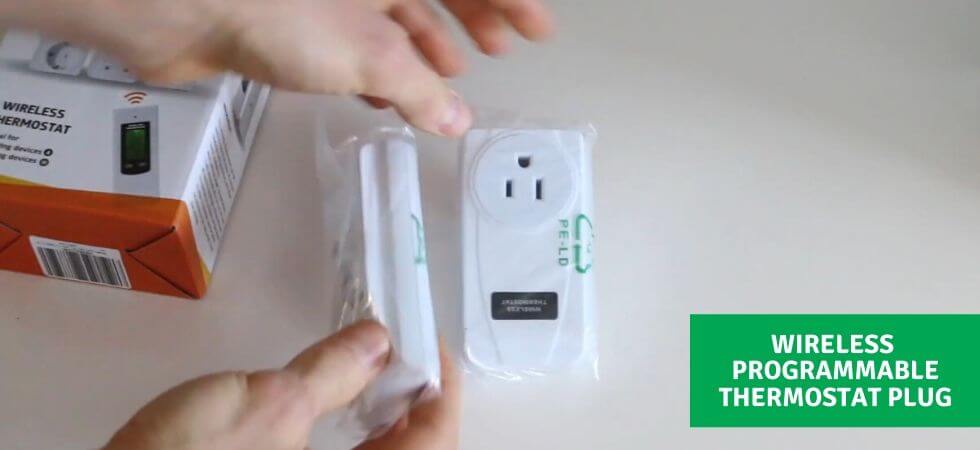
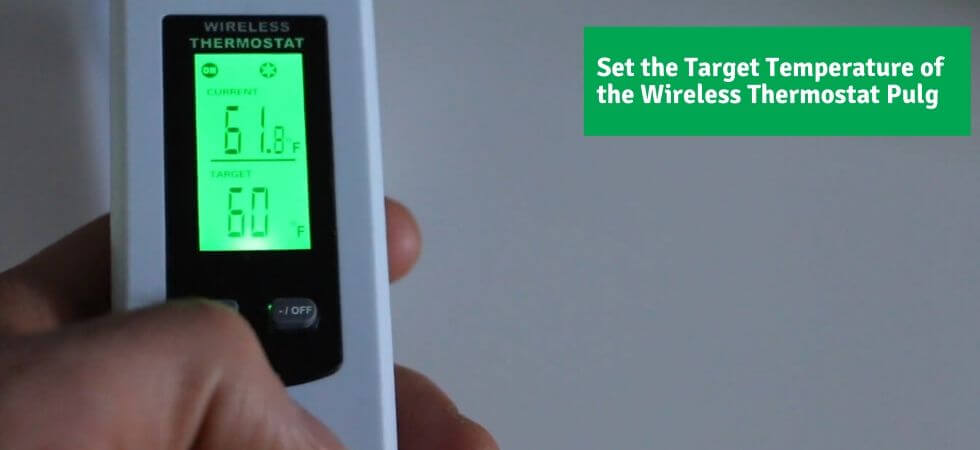
A Programmable Wireless Thermostat Plug will come in very handy for Automation of your Greenhouse Ventilation System. This plug will turn on when the temperature of the Greenhouse increases above a certain threshold temperature. You can easily program and set the target temperature for this plug using the wireless remote controller.
The remote controller communicates with the plug using RF 433.92 Mhz frequency channel. The Thermostat is actually installed in the remote controller and based on the temperature of your greenhouse instructions will be sent from the remote controller to the thermostat Plug. The remote displays both the current temperature and target temperature. Therefore, you will have to mount the remote controller inside your greenhouse, so it can sense your greenhouse temperature and instruct the thermostat plug to turn ON or OFF accordingly.
Note: The height of the remote controller is very important, you should mount the remote at the height of your greenhouse plants and veggies. Never install the thermostat above or below the height of your greenhouse vegetables because as we have mentioned before, that temperature is different for different heights.
Features:
I feel like this article is becoming more like a product review than a DIY tutorial and I don’t want you to get bored. So, I will try to quickly introduce the last remaining product.
You will also need a vent cover for your Automatic DIY Greenhouse Ventilation System. The ventilation cover will prevent the cold air from entering into the greenhouse when the Automatic DIY Greenhouse Ventilation System is not operating. It will also prevent the rain from getting into your greenhouse air duct.
A Cheap Plastic Vent Cover will perfectly do this job for you. I forgot to add a picture of the vent but you can see it in the tutorial for Automatic DIY Greenhouse Ventilation System provided below.
Finally, we are here, Let’s see how you can build an Automatic DIY Greenhouse Ventilation System for your Greenhouse.
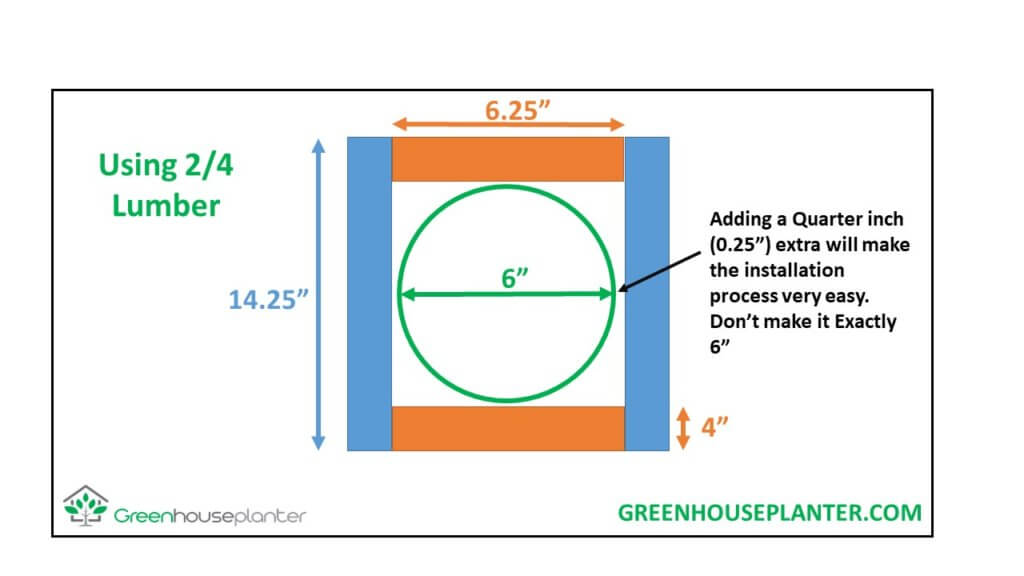
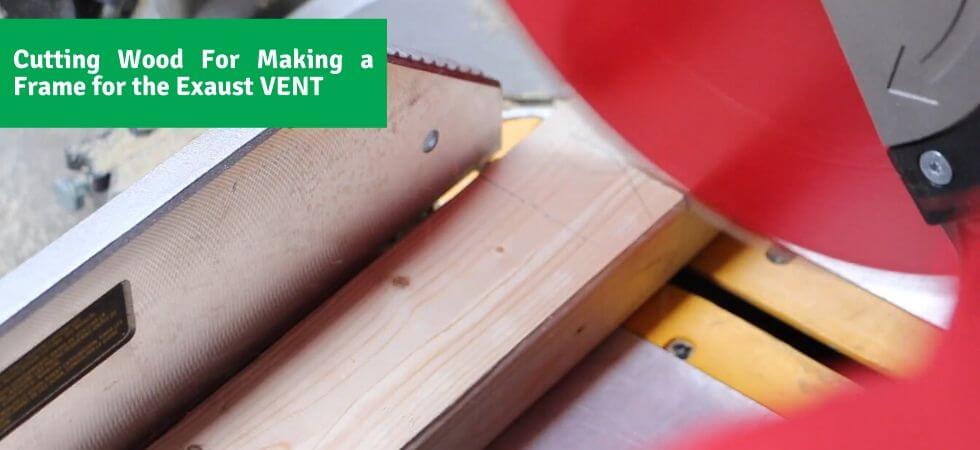
The first step is to make a frame for your greenhouse ventilation system. For this reason, you will have to cut 4 pieces of lumber.
If you have planned to use 2/4 lumber then cut 2 pieces 14.25 inches long and cut 2 pieces 6.25 inches long. Note that we are leaving a quarter-inch of space vertically and horizontally so that a 6-inch vent cover can easily be fitted onto the frame and You can also pass the aluminum air duct easily through the vent. So “Don’t cut it exactly 6 inches”.
Use a table saw for cutting the wood pieces. If table saw is unavailable you can just use a normal saw for this task.
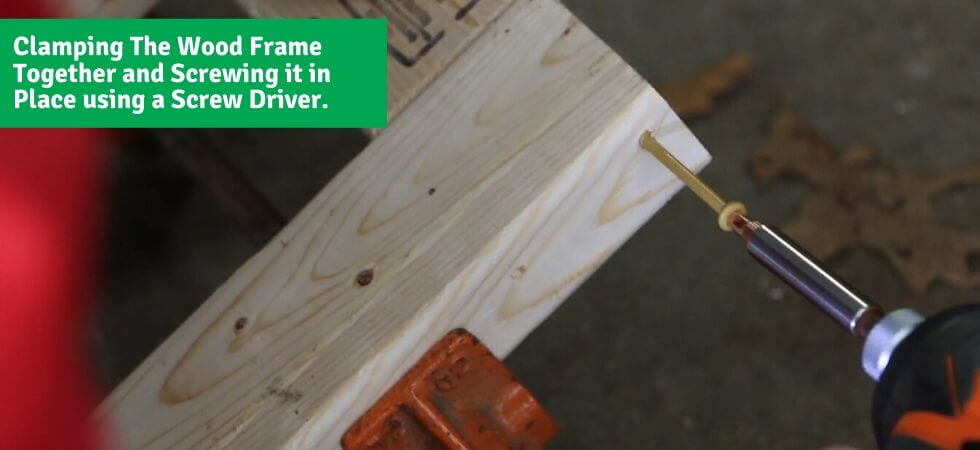
Put the pieces together, Make sure that its perfect square from the inside and the length of the inner sides should be 6.25 inches.

Use a clamp to Hold the pieces together and screw it inplace.
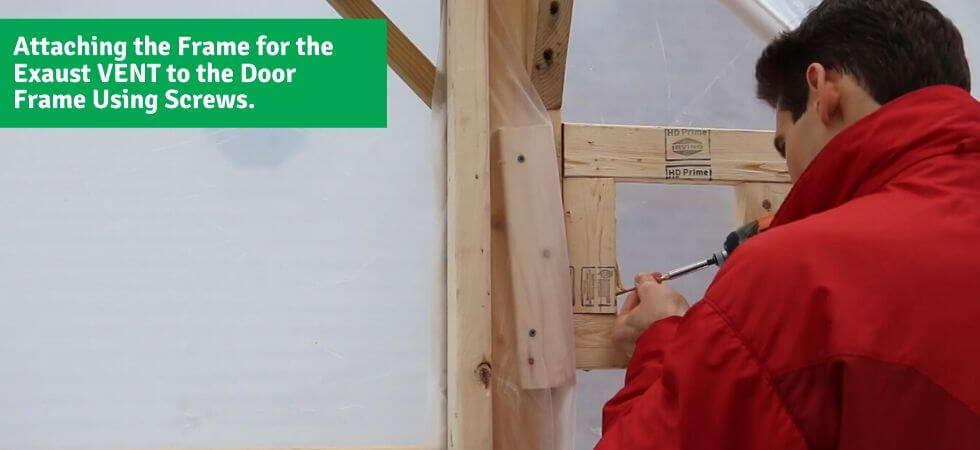
Attach the frame for your greenhouse ventilation system to the frame of your greenhouse door (Or any other support if any). Use at least 2 screws to mount it with the frame of your greenhouse door.
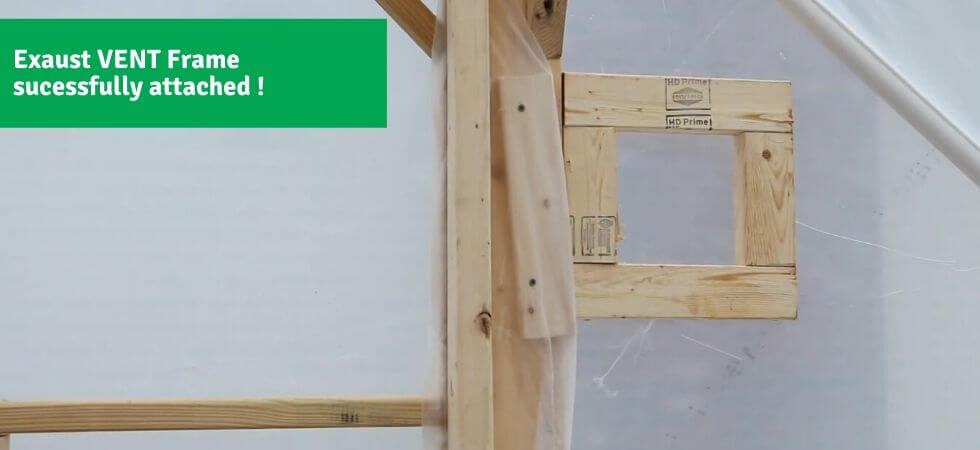
After screwing Your greenhouse frame should look like this.
The next step for building your DIY greenhouse ventilation system is to cut a 6″ circular hole through your greenhouse plastic. it is recommended to use a sharp knife for cutting a hole through the plastic.
If you are hesitant that you won’t cut a perfect circle, don’t worry it doesn’t need to be perfect 6″ circle. The greenhouse vent cover will hide the plastic anyways.
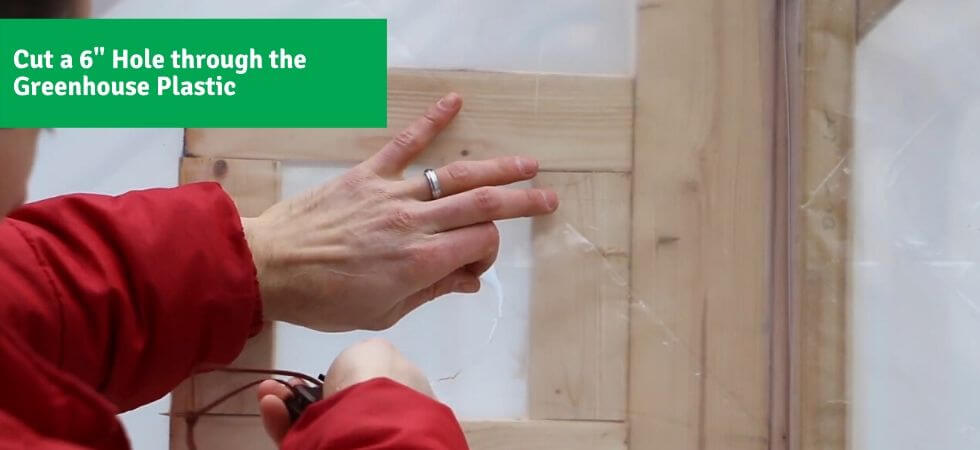
You should apply tape on your greenhouse plastic around the edges of the circular hole. This is very important because the Tape will hold the greenhouse plastic together and it will prevent it from tearing apart.

See! how the tape is being applied in the picture below.

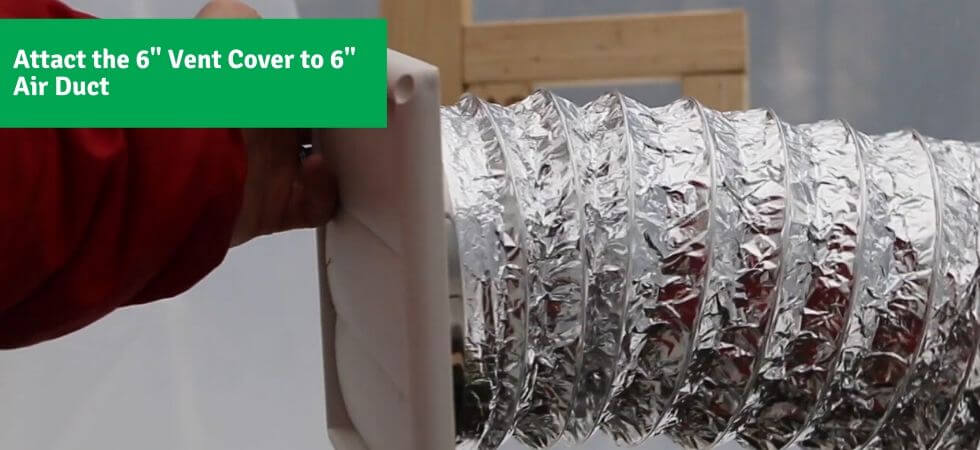
Attach the Vent Cover to the air duct by using the 6 inch clams that come along with the air duct.
The air duct that I have recommended is 8 feet long, which is more than what is needed. It is a good idea to cut the extra Air Duct, We will use the extra air duct for our intake vent later.
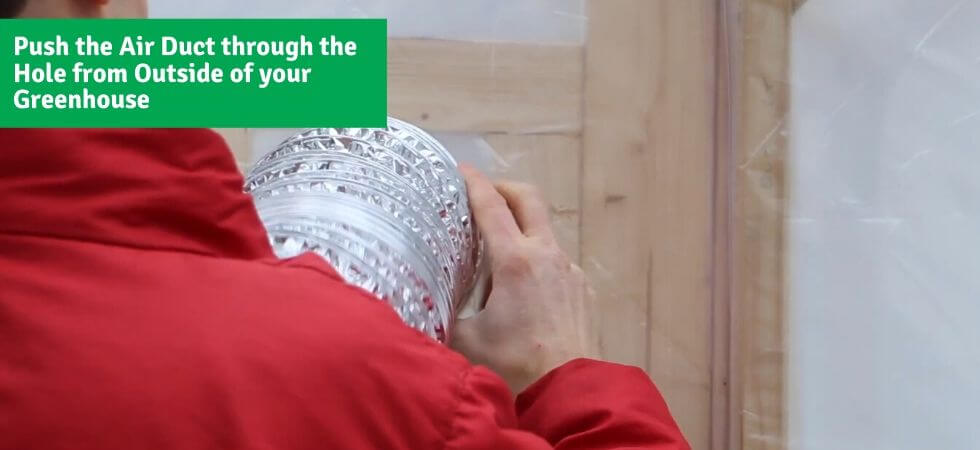
Push the other end of the Air Duct through the hole. Make sure you perform this process with care and patience. You should keep on doing it until you reach the vent cover.
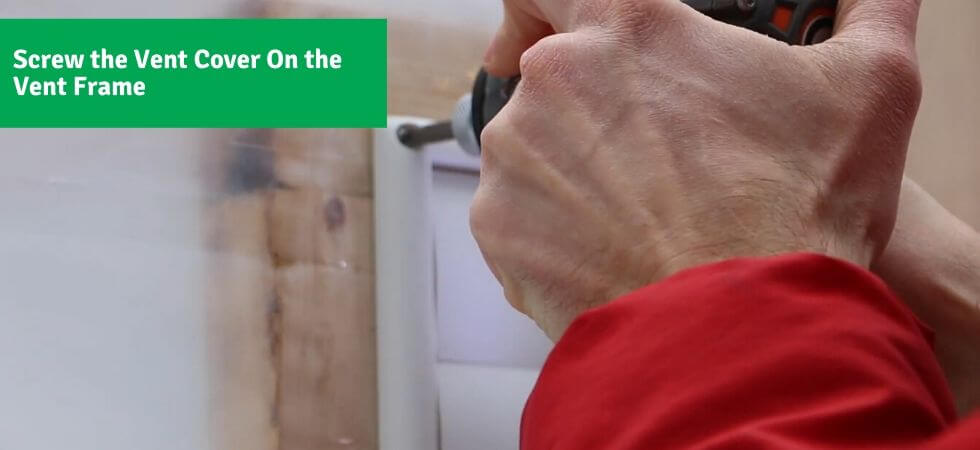
Push the vent cover on to the frame and set its position and orientation so that its perfectly levelled.
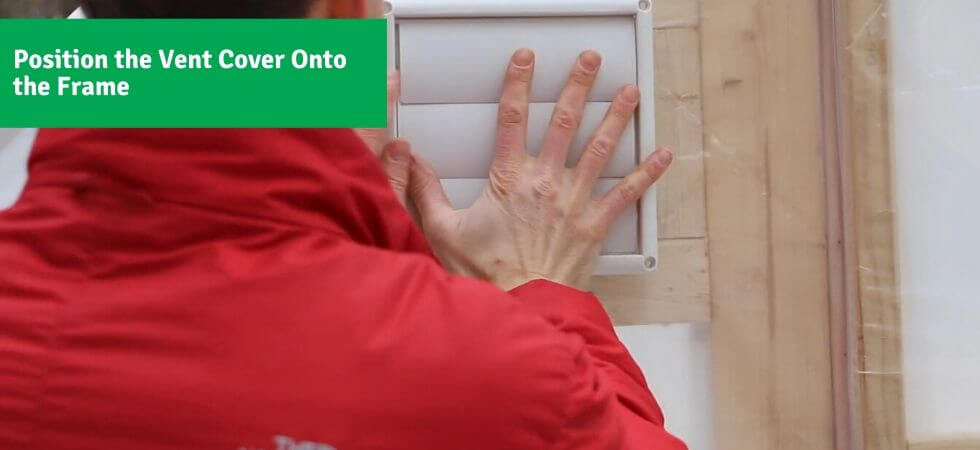
Fasten the vent cover onto the frame by using screws.
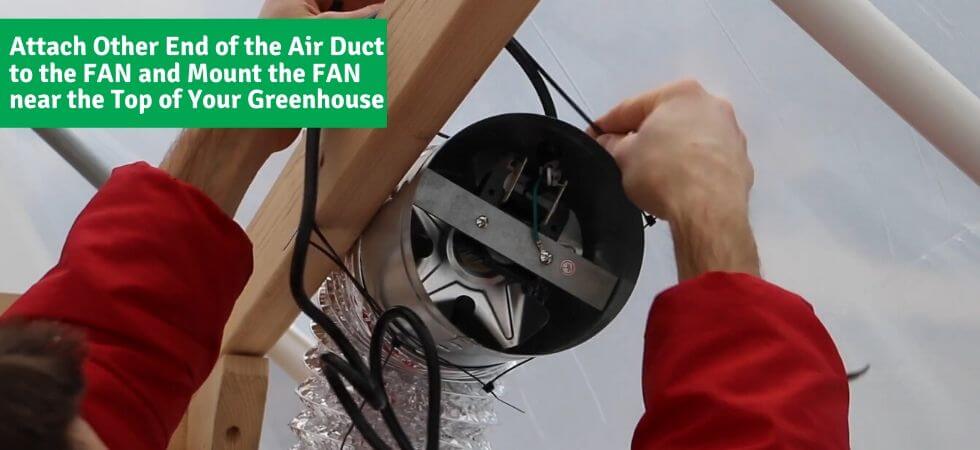
This is the final step in building your DIY Greenhouse Ventilation System. Attach the other end of the air duct to the vent fan using a clamp ( that comes with the air duct ) and mount the vent fan inside your greenhouse at your preferred location.
The ideal location for mounting the vent fan is near the top of your greenhouse and if your greenhouse has top support you can easily mount it there.
You can always use zip-ties for mounting the fan. However, a neat mounting option would be to use the Mounting Clamp. If you want to use the clamp then you will have to screw it to the top support of your greenhouse and clamp the fan to it.
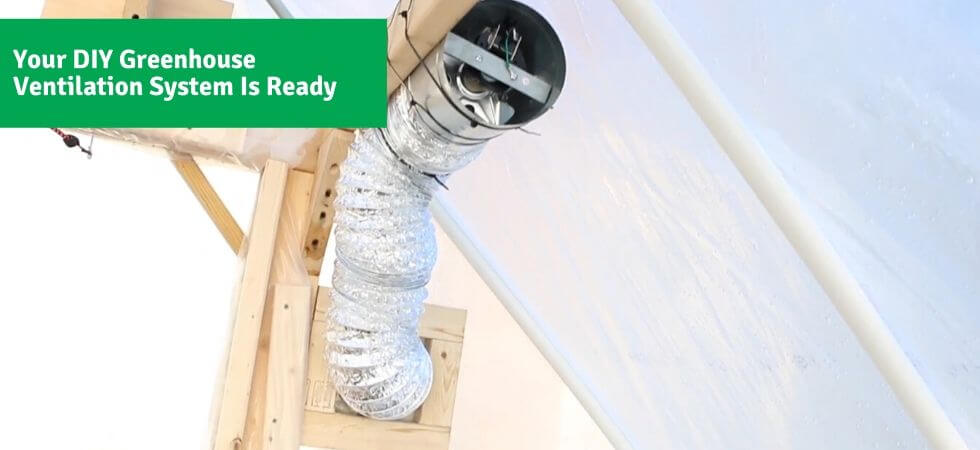
Finally! Your DIY Greenhouse ventilation system is ready. But! We need to automate it so that it turns on automatically when the temperature inside the greenhouse increases above the temperature threshold that we have set.
Now! Automation of your DIY Greenhouse Ventilation System
Set your target temperature on the wireless thermostat plug controller. This controller will also show you the current temperature and when the current temperature becomes larger than the target temperature then the Fan will kick on.
Note: You should mount the controller inside your greenhouse because the temperature sensor is installed in the controller and it continuously communicates with the plug sending instructions to turn on and off the plug. The other important thing is the mounting height of this controller. You should mount it at the height of your plants or raised bed.
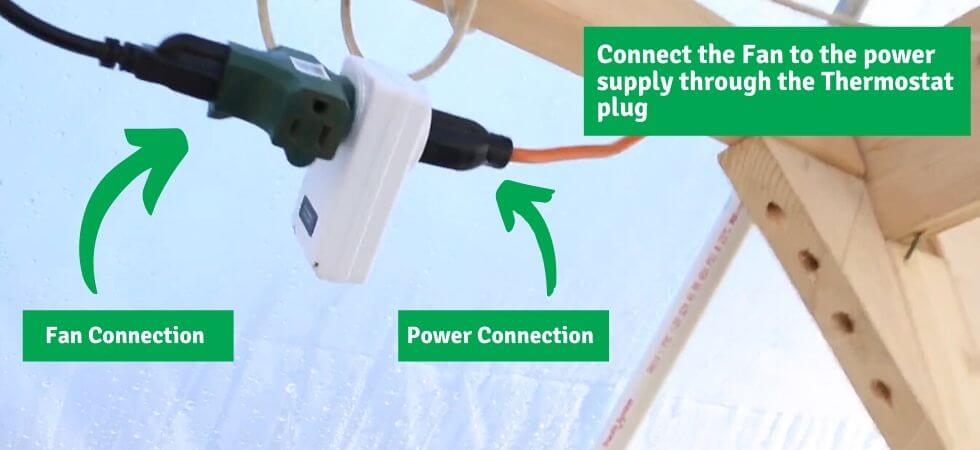
The final thing that you will have to do is to provide a power supply connection to your Automatic DIY Greenhouse Ventilation System.
You should provide the connection through the Thermostat Plug as shown in the Figure below. You can also use a splitter after the thermostat plug if you want to connect multiple fans for your Automatic DIY Greenhouse Ventilation System.
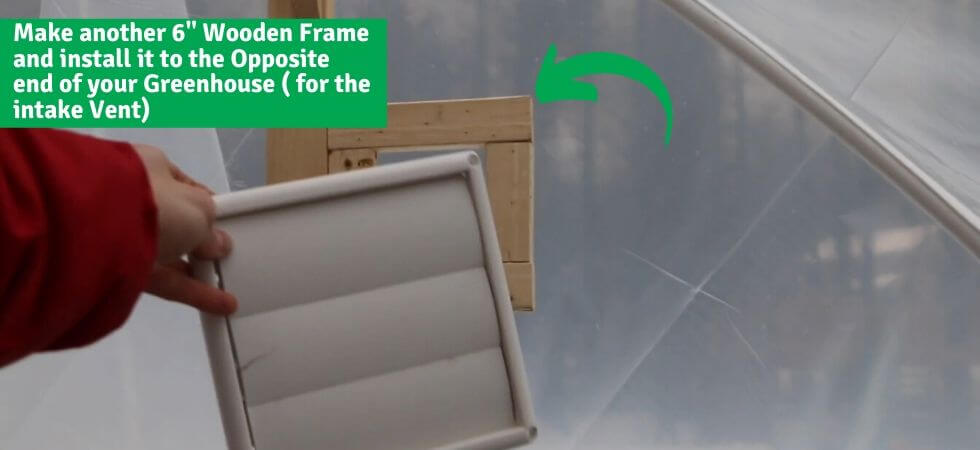
For a better airflow through the greenhouse, it is important to install an intake vent to the opposite side of your greenhouse.
Make another wooden frame with the exact dimensions as of our Automatic DIY greenhouse ventilation system frame and attach it to the opposite end of your greenhouse.
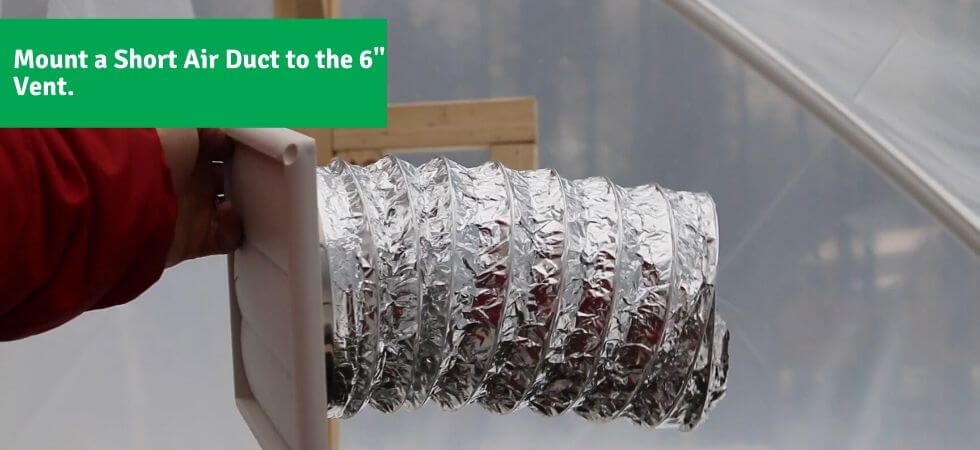
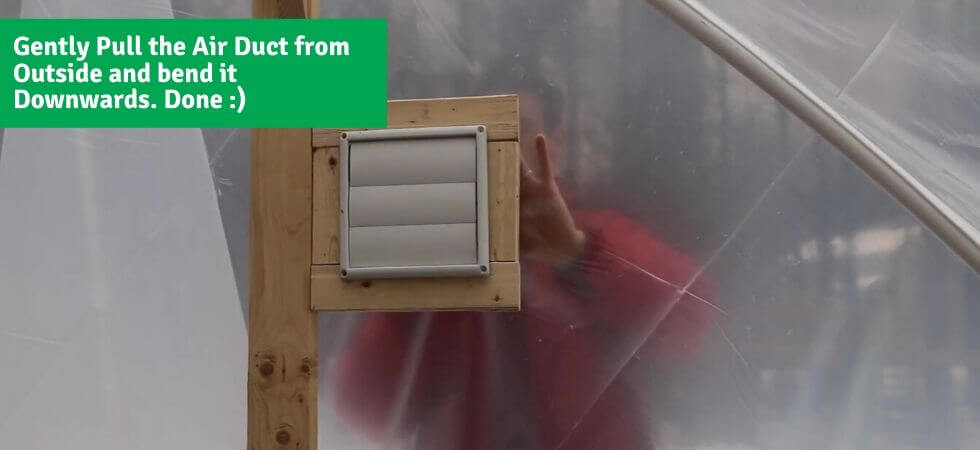
Attach a short piece of the air duct to the 6″ Vent as shown in the Figure below. Fastening a small piece of an air duct with the vent cover is important because we will bend the air duct downward. It will prevent cold air from flowing into the greenhouse ( during the nights ) and It will also prevent rain from getting into the greenhouse.
Cut a 6″ hole in your greenhouse plastic and tape it along the edges to prevent the plastic from tearing apart. Push the other end of the air duct through the plastic. from inside of the greenhouse.
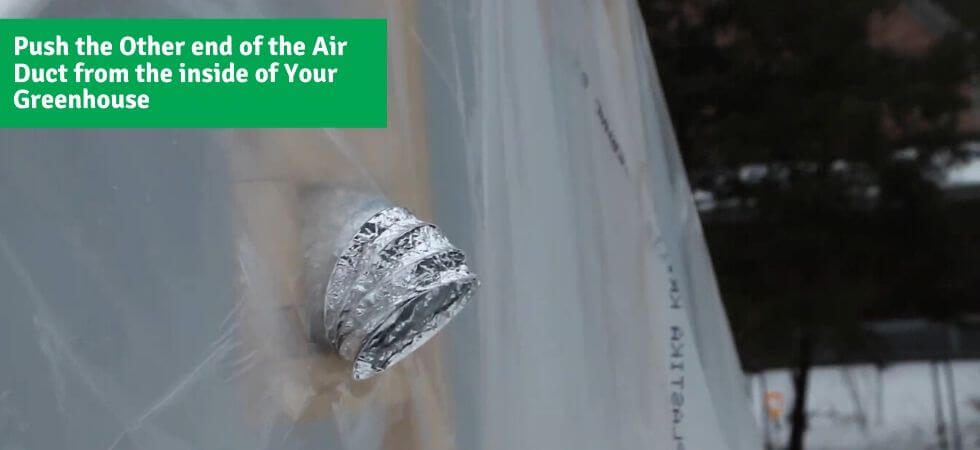
Gently push the intake vent on to the frame and Screw it in place.

Gently pull the air duct from the outside and bend it downwards.
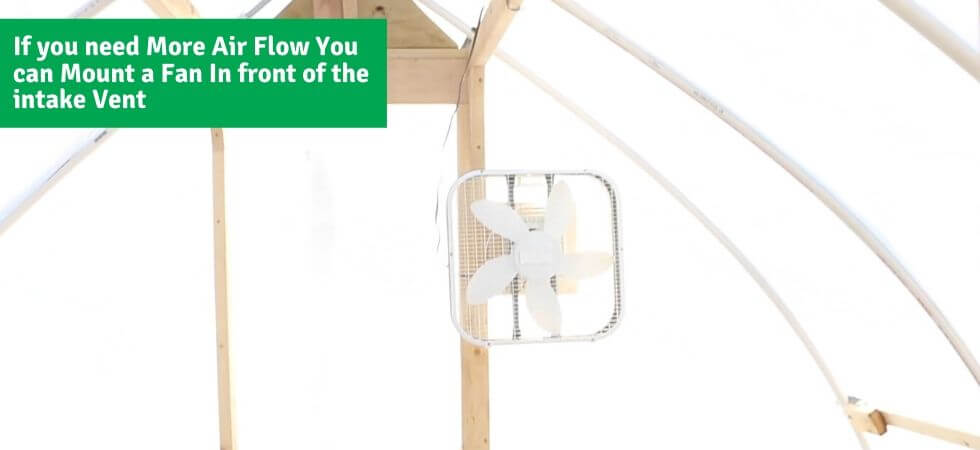
In order to increase the airflow through the greenhouse, you can install a fan in front of the intake vent if required. This fan will also be powered through the thermostat plug using the splitter.
All Done! You have now successfully installed your Automatic DIY Greenhouse Ventilation System.
I hope that this tutorial was easy enough for you to understand if you still have doubts then check out this DIY Greenhouse Ventilation System Build Video by OrganicBackyardGardening.
We have prepared this awesome pin for you so you can save it in your Pinterest board. It would be nice if you let your friends know about this cool article by sharing it on your social media account.

We will see you soon, 🙂
Comments are closed.
[…] DIY Greenhouse Automatic Ventilation System […]